Step by Step

1 | 2 | 3 | 4 | 5 | 6 | 7

full image >

created by Ben Hassad version 4.0 impressum

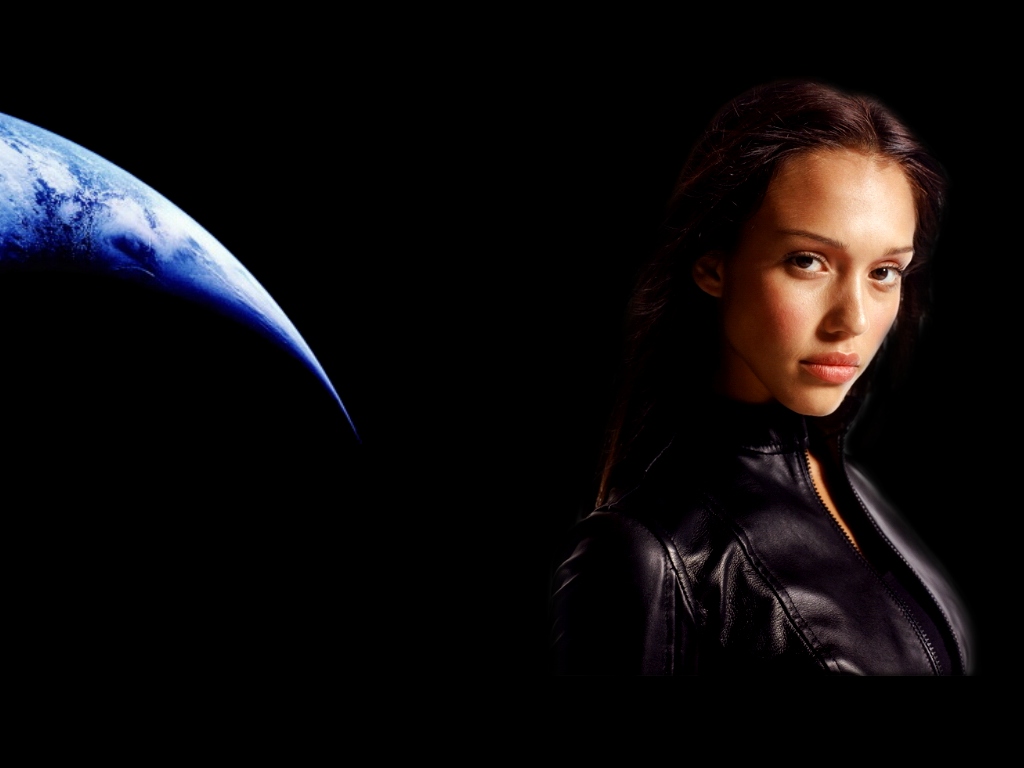
This is our wallpaper so far, with two main elements. The next chapter will describe details and adding them, detail work on the face and transparency effects.

Fourth Chapter: The details

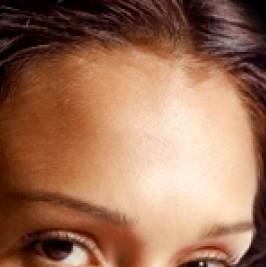
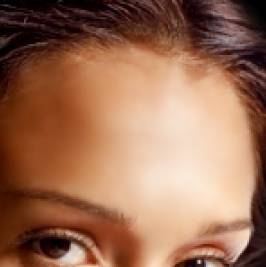
First we´re going to make some detail-work on the face to reduce the ‘craggedness’. To do that we´re using a blur tool (that´s a kind of paint-tool that blurs the area at the mouseposition):

before:

after:

As you see, you can reduce all unlovely parts of the skin with a blur tool. Now we´ll add some lines to the earthimage, in order to make it look more ‘technical’-style. One line will be a bit perspective, as for that we draw a pointed circle in a new window and use a perspective tool on it. After that we´re selecting only the part of the circle we want to be seen in the wallpaper. Then we cut it out and put it into our wallpaper.

After setting the ‘circle’ in the right postion, we´re adding some more simple pointed vectorlines and we´re a step further to the finished wall.

< back

next >

Disclaimer: BenHassad.de is not responsible for any content on pages linked from that site through direct links and banners.